Shit-Stealing Gnomes Loot Tier List
What to prioritize on the way to the car — contract loot beats shiny distractions.
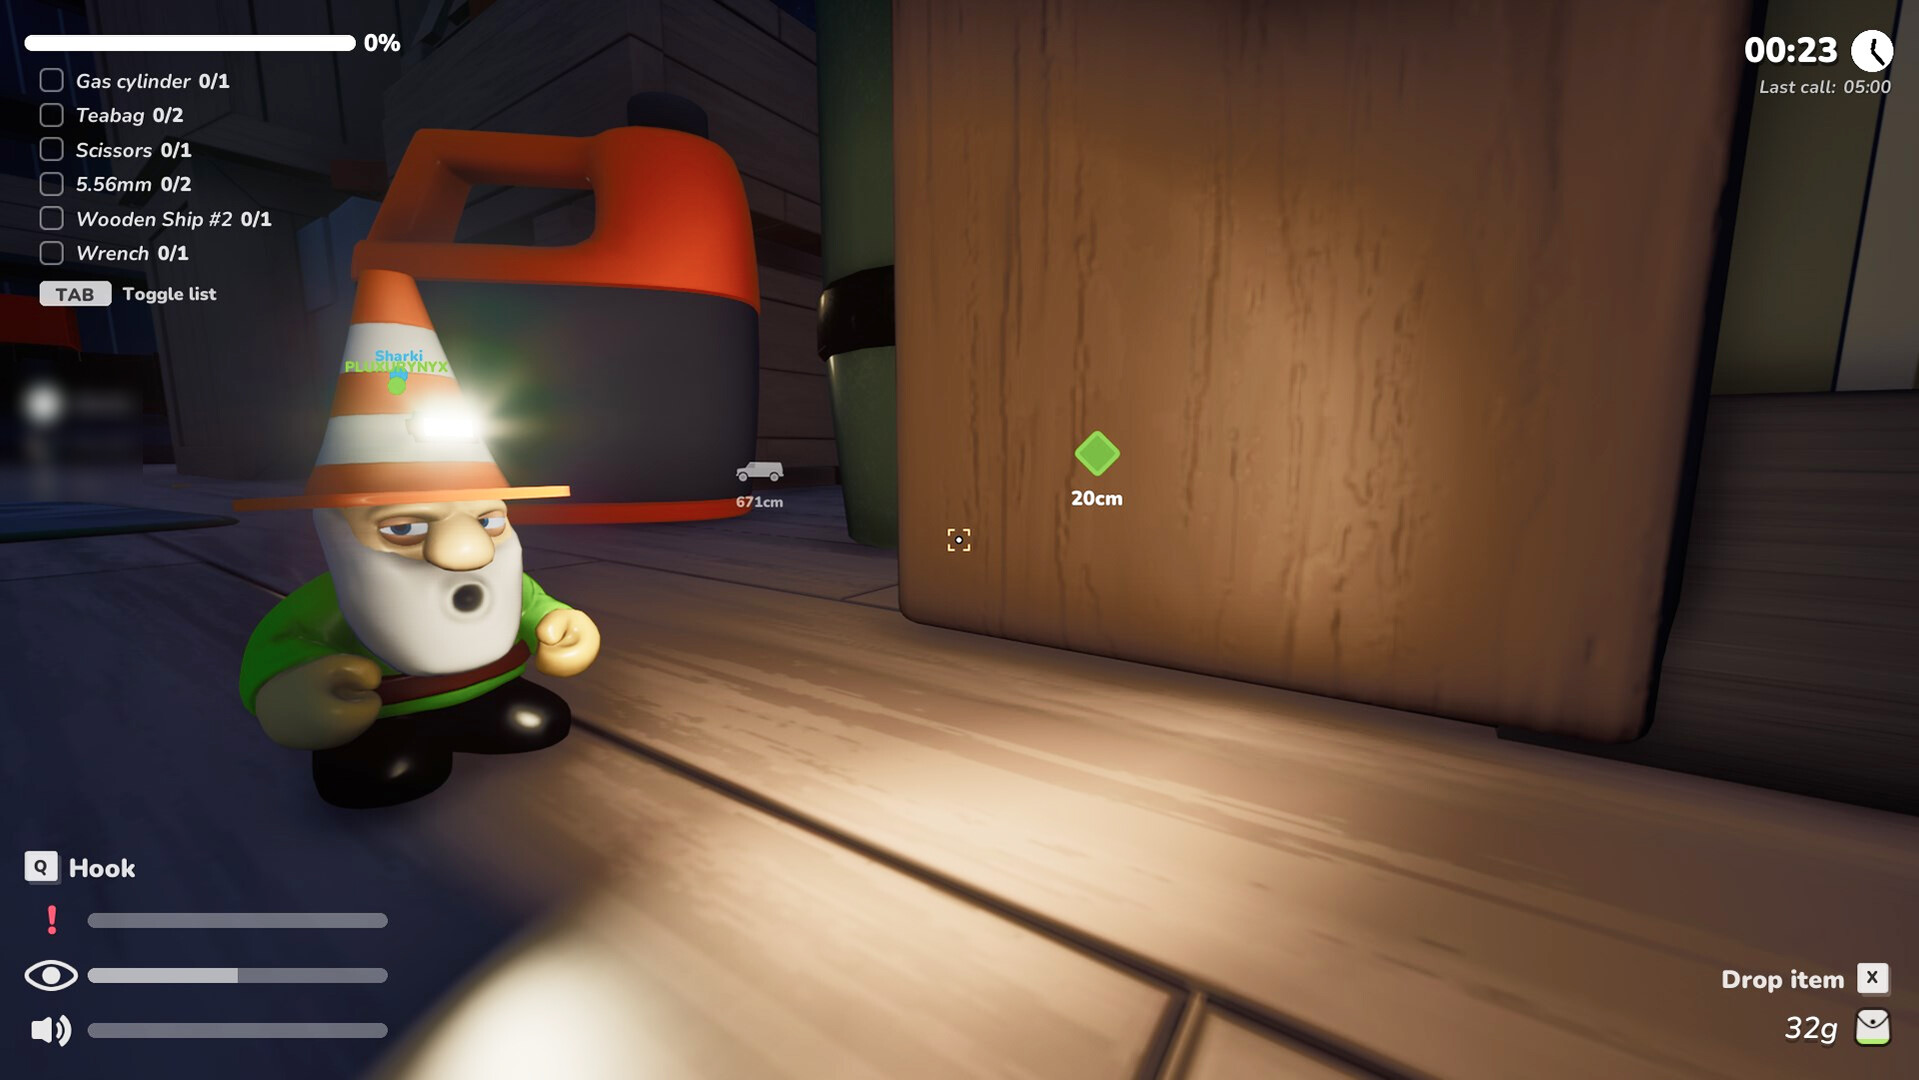
This Loot Tier List ranks what Shit-Stealing Gnomes players should care about during a demo heist. It assumes you already understand the golden rule from Gnomic Resistance: finish the To-Steal list before pocketing personal wealth. If that is news, read Complete Missions first.
Tiers reflect priority under pressure, not a spreadsheet of every prop mesh in Unreal. Patches can change spawn rates — list items currently spawn more generously, while Code Crate points were cut — so treat letter grades as decision aids.
S-Tier — Grab without debate
Active To-Steal list items
Anything checked on the contract is S-tier by definition. After the October demo update, list items spawn twice as much, which means less sad wandering and more executing. Route your team to list pins before anyone photographs a funny toilet.
Why S:
- Completes the mission.
- Avoids punishment.
- Feeds ranks and unlocks.
- Makes optional loot ethically allowed afterward.
Portable high-value wealth on the extract path
Once the list is done, small-to-medium valuables that do not block doorways jump to S if they sit on the way to the car. Pathing matters: an expensive object in a dead-end attic is not S if the hooman is awake.
A-Tier — Strong greed when the house is calm
Keychains
Keychains are flexible: sell for funds or save for team perks. They are compact, easy to justify, and support long-term Resistance fantasy. Pocket them whenever the detour is short.
Drone-friendly heavies near exits
Heavy trophies become A-tier when a drone (or a dedicated carrier plus clear hall) can move them without a parade through the living room. Alone and far from the car, the same object drops to C.
Stackable junk with clean carry animation
If it nests well, leaves your view mostly clear, and does not rattle like a drum kit, it is A during a quiet optional window.
B-Tier — Situational pickups
Mid-value décor off the main route
Worth a detour only when stealth is stable and soft-landing routes exist. See Stealth Tips before balcony greed.
Extra list-adjacent spawns you already passed
Sometimes a second copy sits behind you. Grab it on the return trip, not as a new deep push.
Shop-fund fillers
Objects that exist mostly to fund the next hat or beard are fine after ranks and tools look healthy. Cosmetics refresh after missions — money is renewable; wipes are not.
C-Tier — Usually skip
Awkward furniture with no drone support
Couches and giant props that turn every doorway into a physics puzzle belong here for most solo runs.
Contested-room junk during alerts
If the hooman is up, C-tier objects become F-tier liabilities. Extract.
”It looked funny” impulse steals
Comedy is a legitimate hobby. It is not a loot tier. Park funny picks for private lobbies after you can clear Jeff’s House on demand — practice structure in the Demo Walkthrough.
D-Tier — Distraction tax
Full-map Code Crate sweeps
Code Crates and sticker spawns were greatly reduced to roughly 10–15 per map. That makes obsessive crate tourism a time tax. If you stumble on one, fine. If your plan is “clear every crate before the list,” rewrite the plan.
Dead-end trophy rooms after noise spikes
Turning away from the car to flex is how Mad Veteran becomes a highlight reel of failures.
F-Tier — Actively harmful priorities
- Ignoring To-Steal items while bag is full of clutter.
- Fighting a hooman because loot pride demands it (you do not get weapons).
- Parking the drone in plain sight to babysit a low-tier object.
- Splitting the squad across three wings for B-tier décor.
Tier table (summary)
| Tier | Examples | Rule of thumb |
|---|---|---|
| S | To-Steal items; path-portable valuables post-list | Take now |
| A | Keychains; drone heavies near exits | Take if calm |
| B | Off-route mid loot; return-trip extras | Take on the way |
| C | Awkward furniture; contested junk | Usually skip |
| D | Crate tourism; dead-end flex rooms | Rarely worth it |
| F | Anything that voids the contract | Never |
Map-specific notes
Jeff’s House
Start closer to the house after the patch. Secure list items on the entry floors first, stage near soft drops, then authorize A-tier greed. Do not open every closet before the contract is green.
Mad Veteran
Bias harder toward S and A only. Traps and aggression punish C-tier curiosity. Roles from Team Roles matter more than perfect inventory value.
Solo vs co-op loot rules
Solo: S → one A → car. Repeat. Your upgrade path depends on consistent completes more than perfect bags — see Upgrades Tier List.
Co-op: Scout calls S targets, carrier moves them, lookout vetoes greed. If two players disagree, the lookout’s “car” call wins.
Economy loop after extract
Loot converts into Hub power: ranks, tools, and cosmetics stock. Check the shop after every mission because inventories rotate. Spending everything on beards before wirecutters is how B-tier loot habits become D-tier progression.
Patch watch
When Gnomic Resistance changes spawn rules again, re-evaluate:
- Are list items still plentiful?
- Did crate density rise or fall?
- Did new item families appear with the “new items and hats” style drops?
Track notes on the Updates Hub. Until then, steal the contract, then steal smart.
Frequently Asked Questions
Quick answers to the most common questions.
What is always top priority loot?
Whatever is on the To-Steal list. Everything else waits — see Complete Missions.
Are keychains worth carrying?
Yes. They are compact A-tier valuables for selling or team perks when the detour is short.
Should I clear all Code Crates?
No. Spawns were cut to about 10–15 per map. Do not build your run around crate sweeps.
When do heavy objects become worth it?
When a drone or clear carrier route exists near the car. Otherwise treat them as C-tier risks.
Where do I learn extract timing?
Use the Demo Walkthrough and Stealth Tips alongside this tier list.